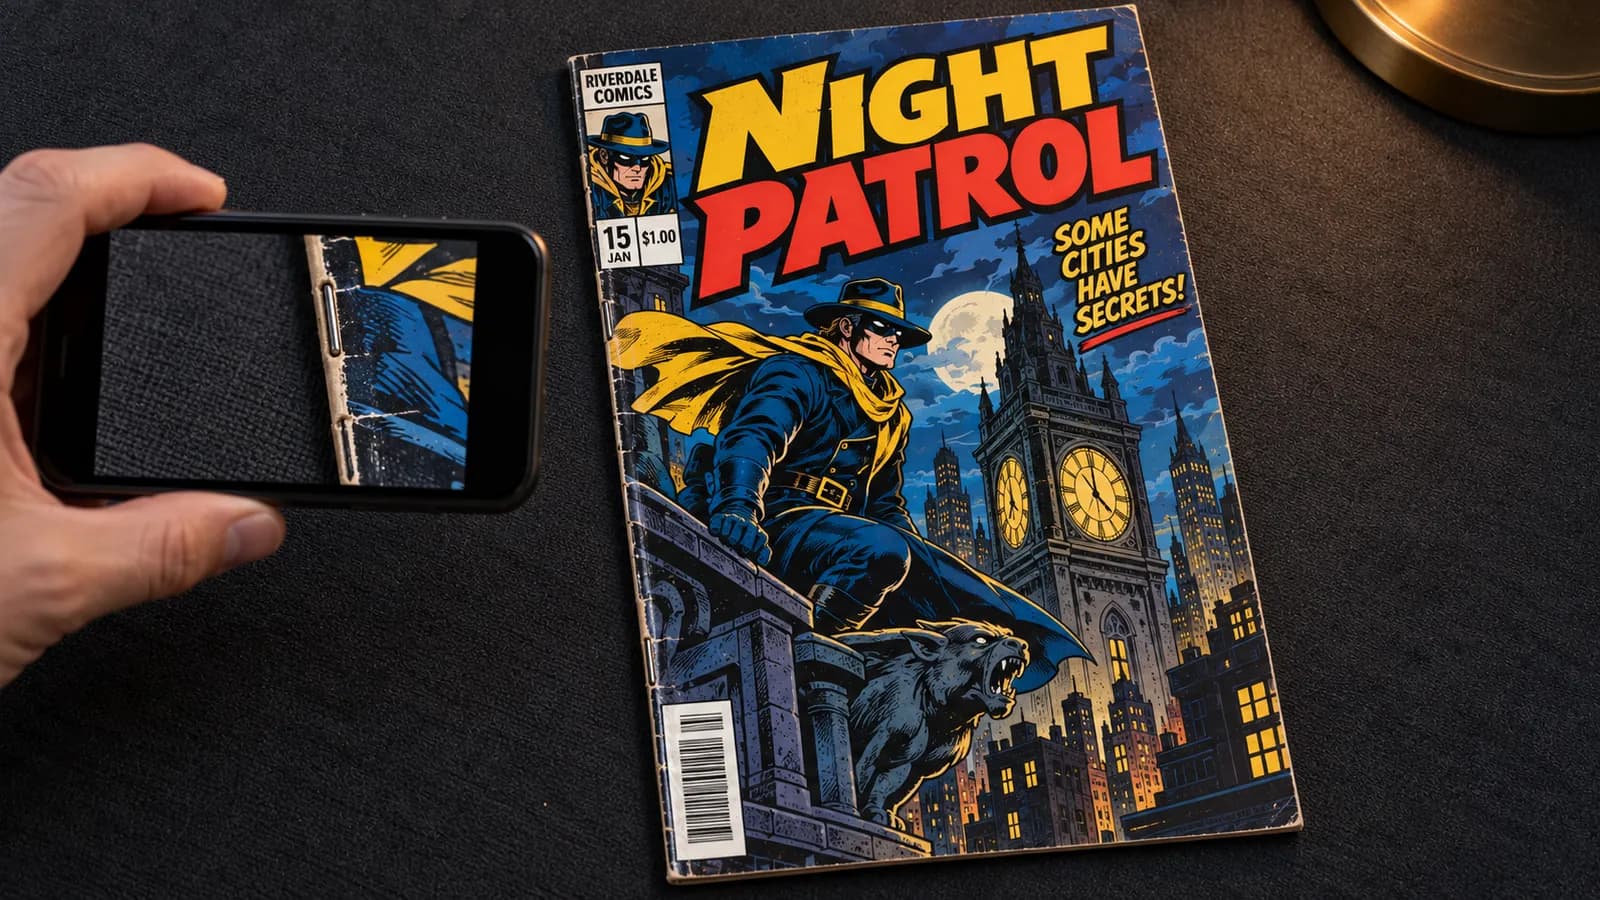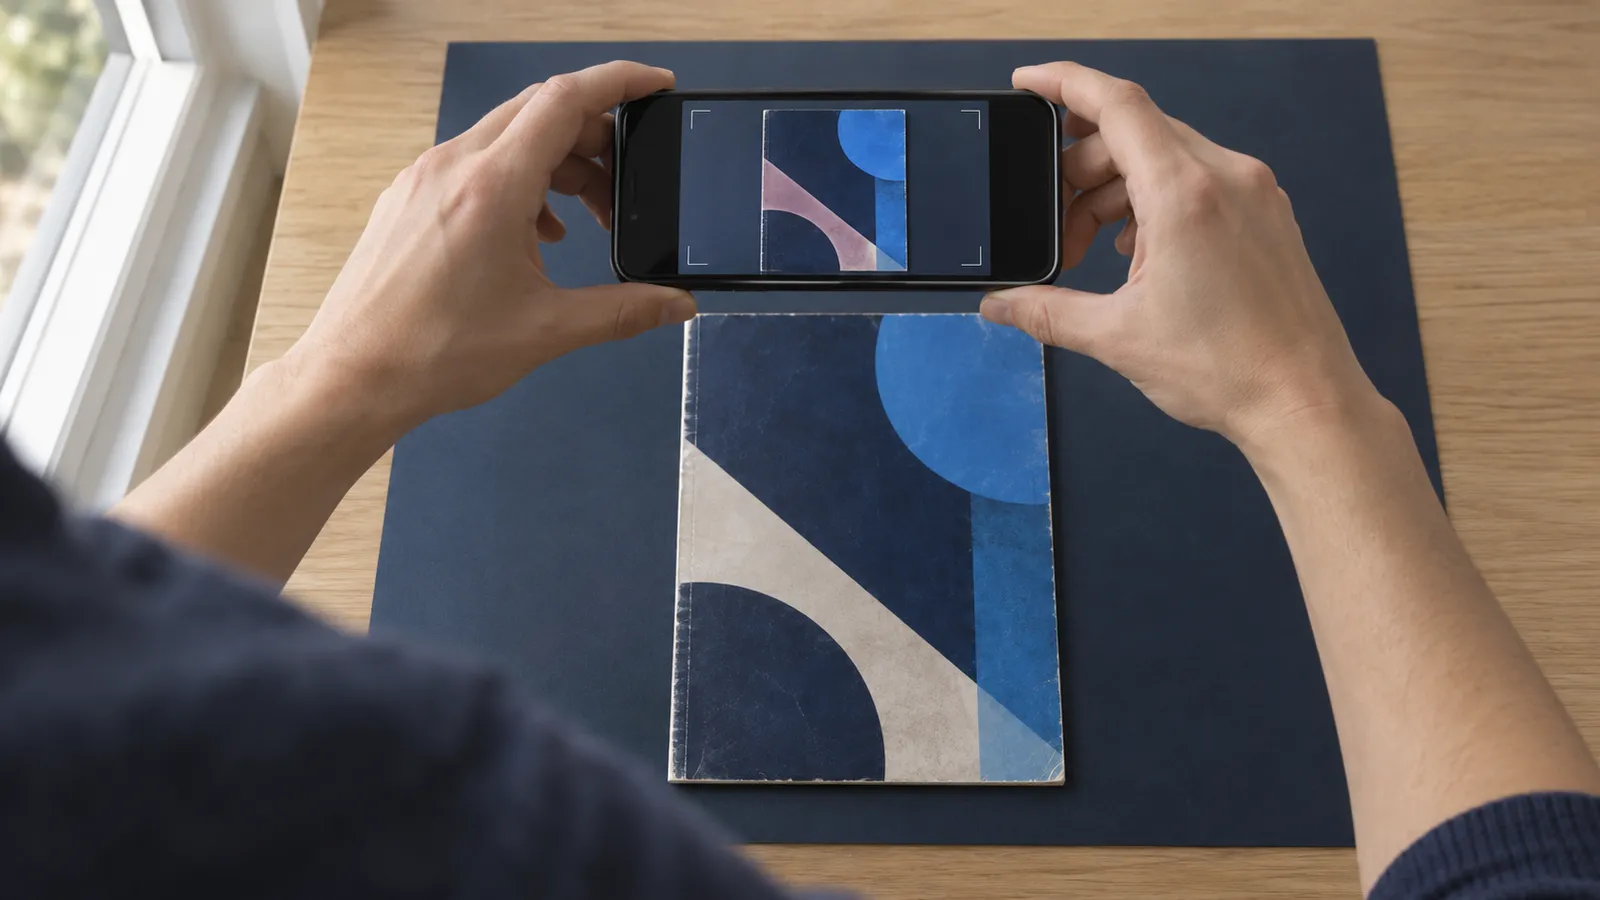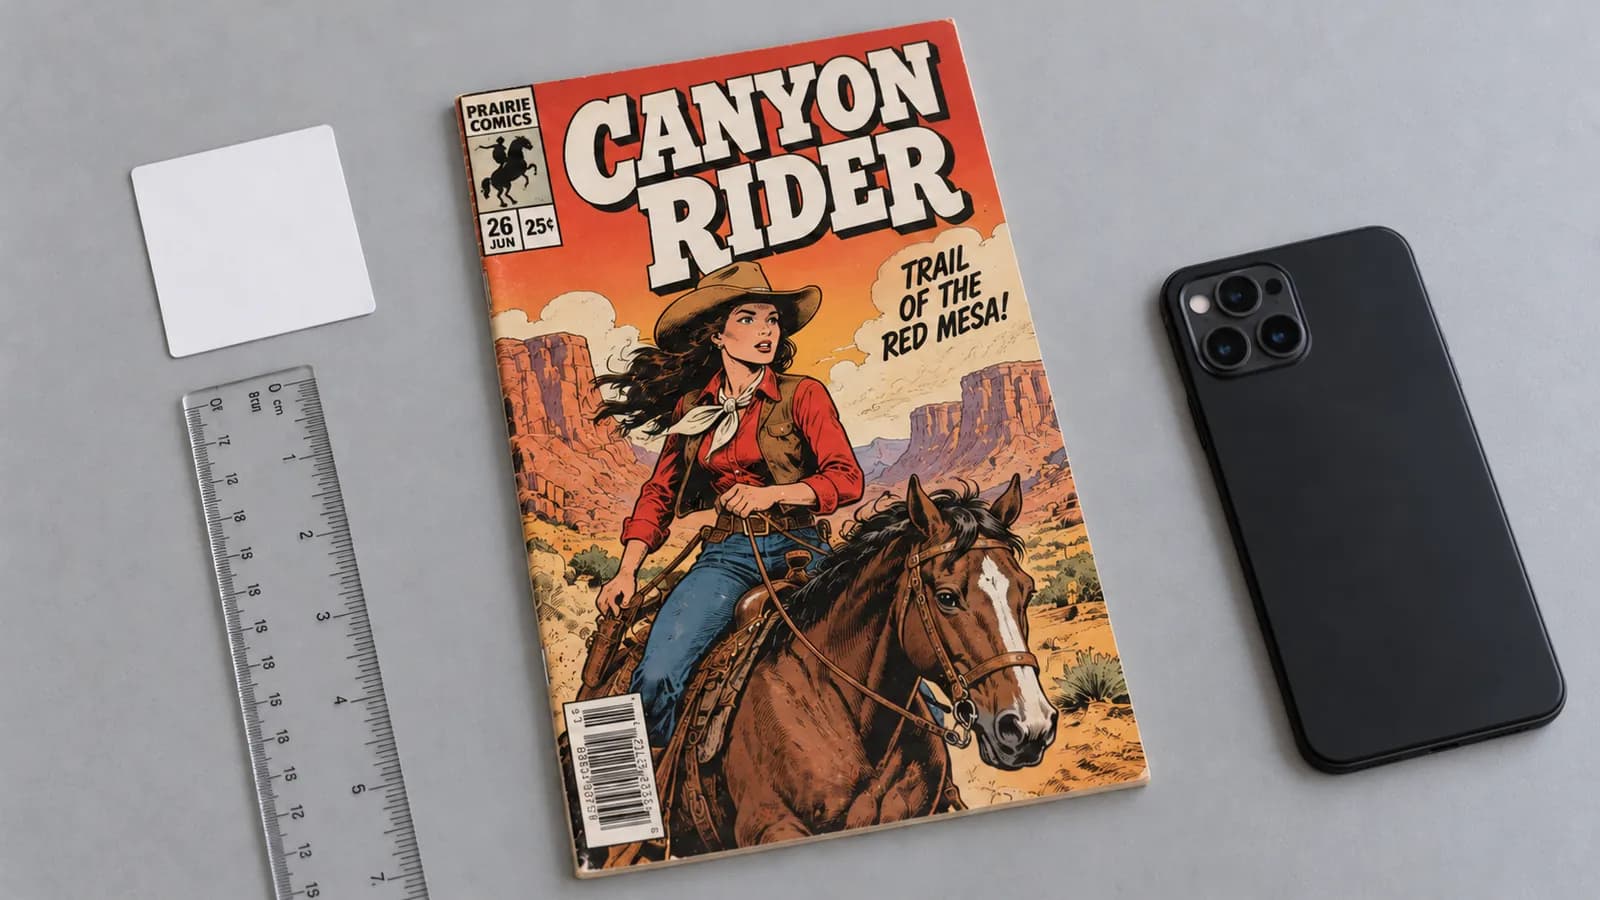
A raw-comic listing should show the whole copy and every flaw: the front and back covers straight on, the spine, all four corners, the edges, the centerfold and staples, a few interior spreads with the indicia, a close-up of each defect with a ruler beside the book, and the page color next to white paper. Shoot the set unfiltered, in one light, out of the bag.
A raw comic is one that has not been professionally graded and sealed in a plastic holder, so a buyer can judge it only by your photos and your words. This guide covers what to show; for light, focus and camera settings, follow how to photograph comics so the flaws actually show.
The listing shot list, in the order buyers expect
Upload the photos in the order a careful buyer inspects a book: the whole copy, then the details, then the flaws.
- Front cover, straight on: all four corners in frame, with a thin margin.
- Back cover: the same framing.
- Spine: the full length, with light skimming along it.
- Four corners: one close-up of each front-cover corner, tip centered and sharp.
- Edges: the right edge of the closed book, plus the top or bottom edge if either is worn.
- Centerfold and staples: both staples in frame.
- Interior spreads and the indicia: two or three spreads (two facing pages per shot), any coupon page among them, and the indicia page.
- Every defect, up close: one shot per flaw, with a ruler beside the book. A worn back-cover corner belongs here.
- Page color: an open page next to a sheet of white printer paper.
That comes to 13 to 15 photos, plus one for each defect.
What each shot proves to a buyer
Each shot answers a question that a buyer would settle with the book in hand, and each gap leaves a doubt.
| Shot | What it proves | The doubt if it is missing or unclear |
|---|---|---|
| Front cover | Title, issue, price, color, gloss, creases, writing, and whether the cover sits square | Glare or a tilt is hiding a crease |
| Back cover | Stains, writing, handling marks, edge nicks and missing pieces | The back has damage the seller skipped |
| Spine | Spine ticks, stress lines, color breaks, spine roll and splits | Spine stress is out of view |
| Four corners | Blunting, small creases and white wear flecks | The corner left out is the damaged one |
| Edges | Chips, nicks, small tears, and tanned or flaking page edges | The edges are chipped or brittle |
| Centerfold and staples | Rust, rust stains, staple tears, and a centerfold held at both staples | The centerfold is loose |
| Interior and indicia | Tears, writing, stains, cut coupons, loose pages, and the printed title and issue | A page or coupon is missing, or the issue differs |
| Defect close-ups | The size and place of each flaw | The flaw is bigger than described |
| Page color | The page tone against a known white | The pages are darker than they look |
A spine tick is a short stress crease across the spine fold; when it breaks the color, the paper shows through as a small white mark. Color break is a crack in the printed ink that exposes the paper underneath. The indicia is the small block of publishing text, usually at the bottom of the first page or inside the front cover, that gives the title, issue number, publisher and date; some recent comics print it near the back.
The back cover and the spine carry real findings
In the three public sample reports from NuGrade, an AI-assisted grading app for raw comics, every book has at least one finding on the spine or the back cover. They are examples, not a survey:
- Green Lantern #59 (DC, 1968), graded 5.5 FN-: a row of color-breaking spine ticks, concentrated at both staples, sets the grade, and two of its nine findings are small nicks on the back cover's edges.
- Marvel Presents: Guardians of the Galaxy #4 (Marvel, 1976), graded 7.5 VF-: an accumulation of small spine ticks, several breaking color against the black cover, sets the grade.
- E-Man #1 (Charlton, 1973), graded 9.2 NM-: its two findings are a slight miswrap that leaves a narrow unprinted strip along the front spine edge, and a small dark mark at the left edge of the back cover.
A straight-on cover photo shows the spine only at its edge, and ticks can hide in flat light. For a repeatable setup, see how to film a comic spine without glare.
Page color needs white paper in the frame
A phone shifts color with the light, so one page can look white in daylight and cream under a warm bulb. White printer paper beside the open page, in the same frame and light, shows the buyer how your camera rendered white.
Page quality is the graders' term for the color and condition of the interior paper, named on a ladder from white through off-white and cream to tan and brown. It can cap the grade: on the published page-quality scale, light tan to off-white pages hold a book to 8.5 VF+ at best, and tan to off-white pages to 7.5 VF-.
Which missing photos make buyers suspicious?
A missing back cover or spine raises the first doubt, because a front-cover photo cannot stand in for either. A careful buyer reads any gap as a flaw the seller did not want to show:
- Photos through the bag. Glare and the bag's own scuffs cover the surface.
- A corner left out, or one soft corner shot. The buyer assumes that corner is the damaged one.
- Cropped edges. Chips and corner wear sit at the edges.
- Angled shots only. A tilt hides whether the cover sits square or the edges were trimmed.
- A stock image or a cover scan. It shows another copy, not yours.
- Light that changes between shots. Shifting color puts every color call in doubt.
- Flaws named but not shown. "Small crease" without a close-up leaves the size to the imagination.
Each gap gives a buyer a reason to ask, offer less or move on.
How to photograph a defect so a buyer can judge it
Show each defect twice: in a wide shot of the cover or page, so the buyer sees where it is, and up close with a ruler beside the book, so they see its size. Size matters because the published grade descriptions for the 10-point scale use sizes: a 1/16 inch bend without color break fits 9.4 NM, and an unnoticeable 1/4 inch crease without color break fits 8.0 VF. For the tier names, see what VF, FN and NM actually mean.
- Find every flaw first, in a fixed inspection order such as the one in how to grade a raw comic at home.
- Set a ruler beside the book, not on it, with its inch marks next to the flaw.
- Light the flaw so its shape shows. Low light skimming across a crease or dent makes it visible. Move the lamp or turn the book flat on the table, and never bend the book to open a crease or a tear.
- Fill the frame with the flaw and the ruler marks, then zoom in on the result to check that both are sharp.
- Name the flaw in the description with its size, its place, whether it breaks the color, and its shot number.
Example lines (illustrative, not a real book):
Shot 12  1/4 inch crease, top-right corner, front cover. Breaks color.
Shot 13  1/8 inch split at the top of the spine. No piece missing.
Rules for honest listing photos
Honest photos show the copy you will ship, the way the camera saw it.
- No filters or edits. Beauty modes, auto-enhance, sharpening and color changes alter surface texture and page tone. Retake a bad shot instead, and keep the original files.
- One light for the whole set. When the light changes between shots, the colors shift with it, and a buyer cannot tell a stain from a color cast.
- Out of the bag for close-ups. A bag adds glare and scratches of its own. Use a clean surface and clean hands, keep food and drink away, and do not open the book past 180 degrees or fold it back on itself, as the Library of Congress comic book care guidance advises (as of October 2026).
- Your copy, never a stock image. Do not use a publisher image, a cover scan or a photo of another copy, even as the main image.
- Show each flaw at the angle that shows it. If a crease shows only under side light, include that shot. Lighting a flaw out of view is the same as leaving it out of the description.
When your marketplace limits the number of photos
Photo limits differ by marketplace and can change, so check the current limit on yours before you shoot. When space is short, keep the front cover as the main image, then the defect close-ups: cut clean detail shots before you cut a flaw.
- Front cover, as the main image
- Every defect close-up
- Back cover
- Spine
- Page color next to white paper
- Corners, worst first
- Centerfold and staples
- Edges
- Interior spreads and the indicia
Do not merge shots into a collage to save slots, because each shot gets only part of the pixels and fine flaws blur away. Say in the description which views you left out, and offer them on request.
A NuGrade report can carry the full-book views: its seven photos and two short videos sit on one public page with a short report ID and a QR code, and buyers open it at the report lookup without the app or an account. Where your marketplace allows it, add the link or ID to your description so buyers can compare the report's photos with yours. A NuGrade grade is an opinion limited to what the photos and video show; for a high-value book, professional grading is still the right choice.
What photos cannot show, and what to write instead
Some facts never reach a photo, so state them in the description, with how you know them: odor, the feel of the pages, pressing or cleaning, repairs, and who signed the book. Write "no restoration known" rather than "unrestored", because skilled restoration can be hard to see in ordinary light, and an earlier owner may have had work done. If you do not know an answer, write "not known". For what photos can and cannot settle, see what a photo grade can miss.
A printable listing photo checklist
Print it or copy it into a notes app, one per book.
RAW COMIC LISTING PHOTOS            Book:

BEFORE YOU SHOOT
[ ] Book out of the bag; clean hands; clean, flat surface
[ ] One light source for every shot; flash and filters off
[ ] Ruler and white printer paper within reach

SHOTS, IN UPLOAD ORDER
[ ] 1     Front cover, straight on, all corners in frame
[ ] 2     Back cover, same framing
[ ] 3     Spine, full length, light skimming along it
[ ] 4-7   Four corners: top-left, top-right, bottom-left, bottom-right
[ ] 8     Right edge of the closed book (top or bottom if worn)
[ ] 9     Centerfold, both staples in frame
[ ] 10    Interior spreads (2 or 3), any coupon page included
[ ] 11    Indicia page
[ ] 12+   Each defect up close, ruler beside the book
[ ] Last  Open page next to white printer paper

BEFORE YOU POST
[ ] Every shot sharp: no glare, no fingers, edges in frame
[ ] Each defect named: size, place, color break yes/no
[ ] Originals saved, unedited

STATE IN WORDS
Odor:                none noticed / acidic / musty
Page feel:           supple / flakes at the edges / not checked
Pressed or cleaned:  no / yes, by whom and when / not known
Restoration:         none known / known, describe it
Signature:           none / witnessed / not witnessed
Frequently asked questions
How many photos should a comic book listing have?
Plan on 13 to 15 views plus one close-up per defect, covering both covers, the spine, the corners, the edges, the centerfold, the interior and page color. If your marketplace allows fewer, keep the front cover and the defect close-ups first.
Should you take a comic out of its bag for listing photos?
Yes, at least for the close-ups. A bag adds glare and scuffs of its own that can hide flaws or pass for them, so handle the book with clean hands on a clean surface and bag it again when you finish.
Can you use a stock photo to sell a raw comic?
No. A stock image shows a different copy, and two copies of the same issue can be grades apart, so buyers need photos of the exact copy you will ship.
How do you show page color in a listing photo?
Lay a sheet of white printer paper beside an open page and shoot both in the same frame and light, with no filter. The paper shows how the camera rendered white, so a buyer can judge the page tone against it.